
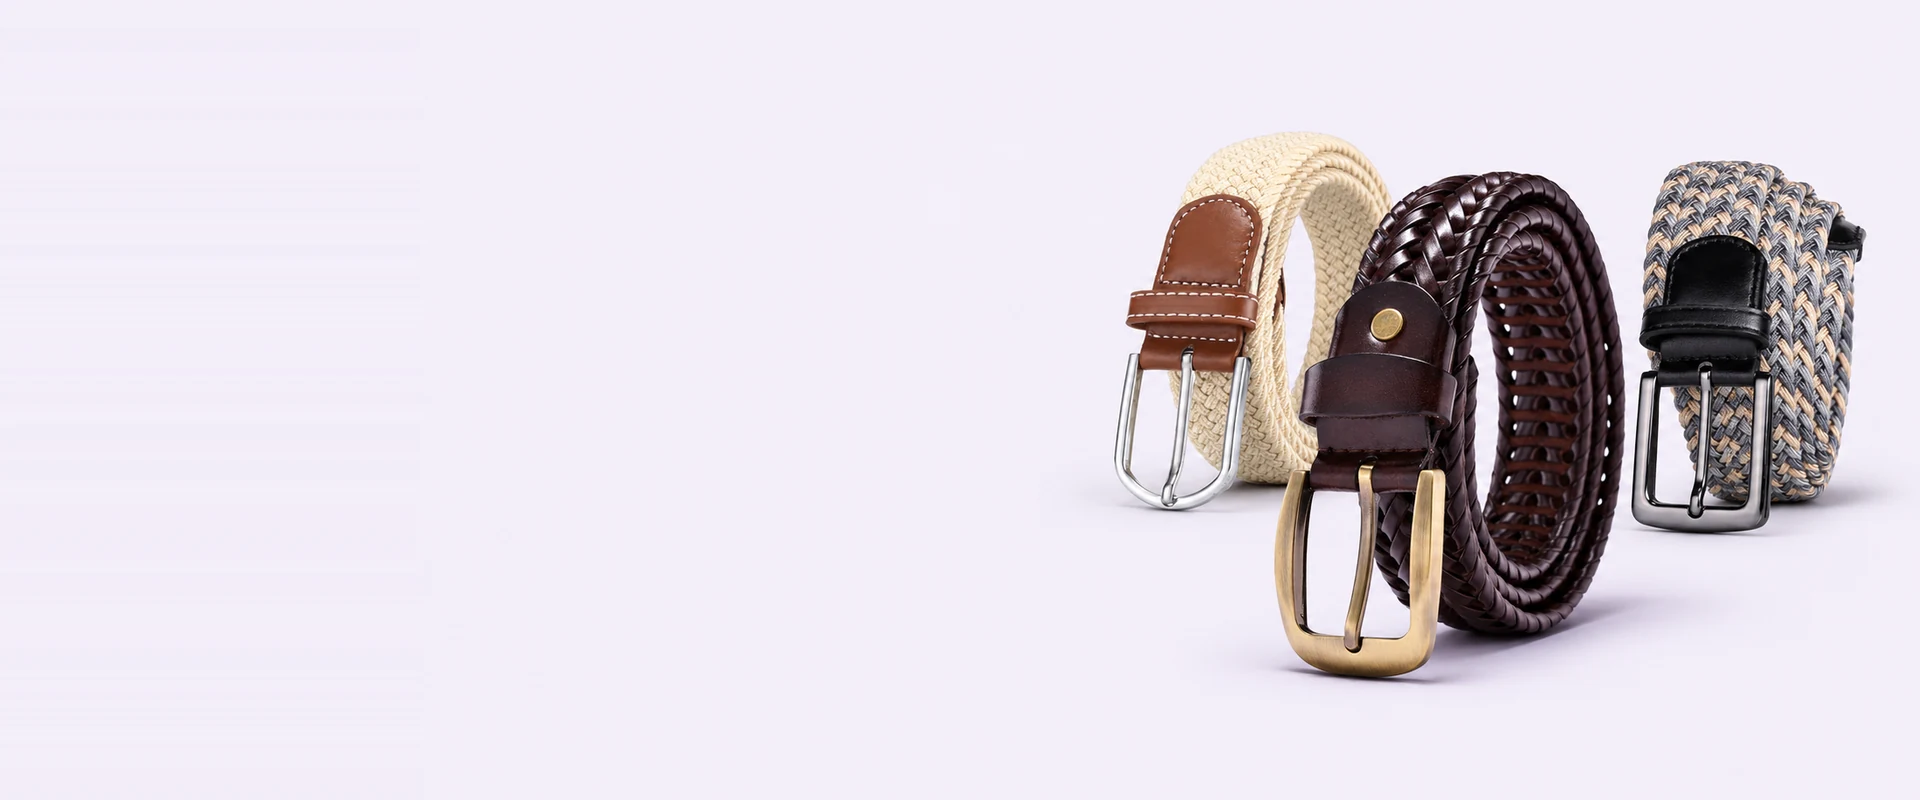
Custom Braided Belts
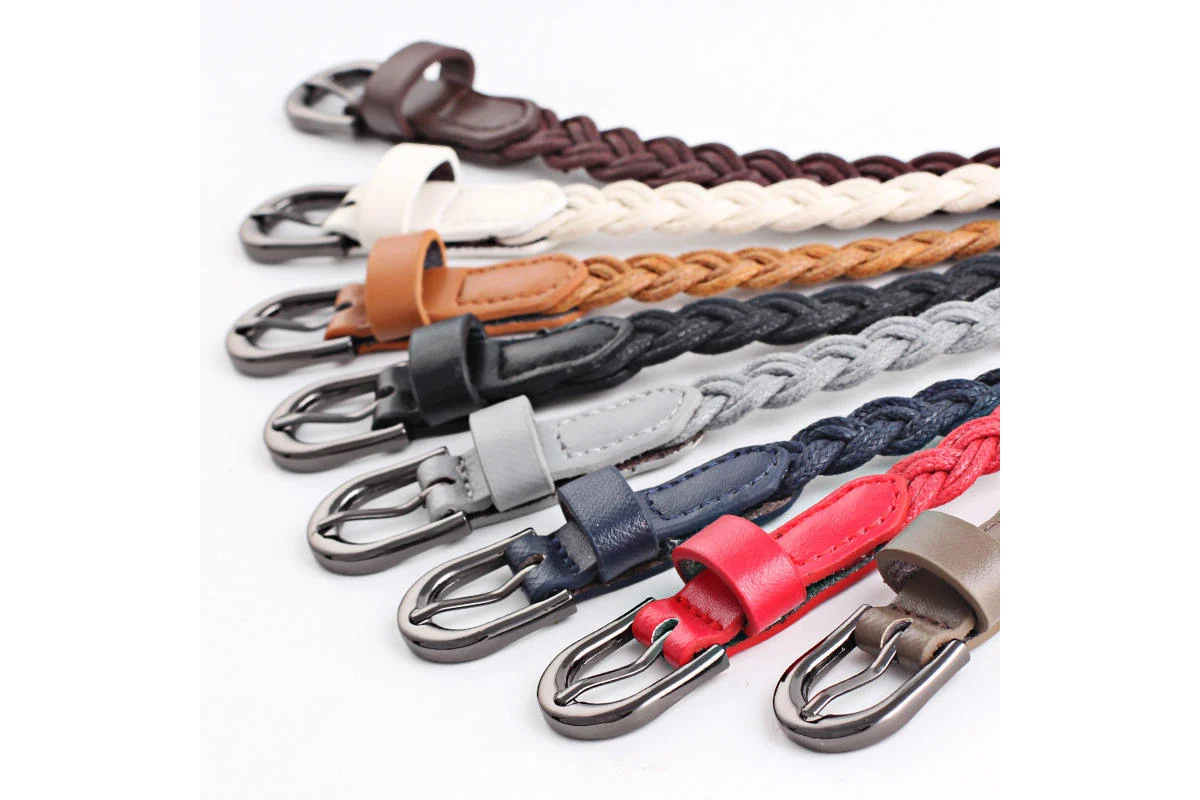
Start with the strand: flat strips, round cord and stretch fabric give a braided belt distinctly different surfaces.
Planning a Braided Belt
- Minimum order of 100 belts.
- Choose a flat strip or a round cord for the braid.
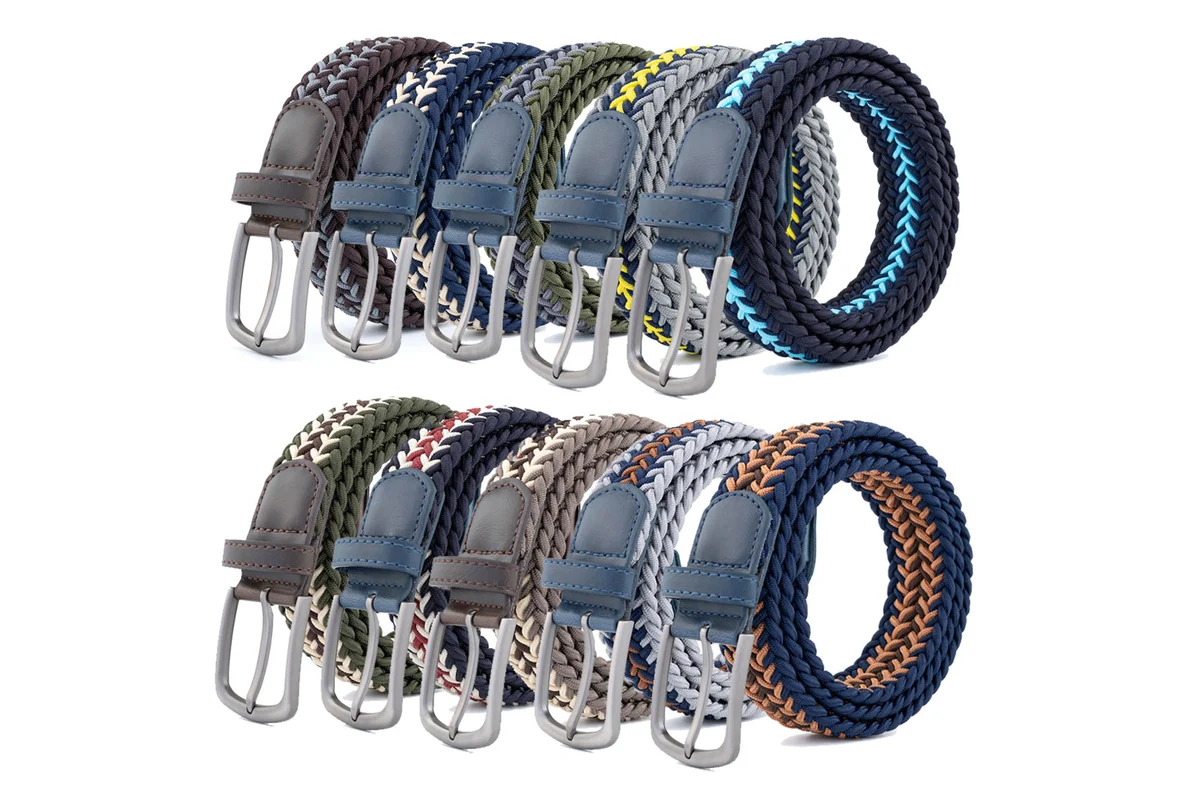
- A single tone emphasizes texture, while contrasting strands reveal the pattern.
- End tabs frame the braid at the tip and buckle.
- Made in-house and checked belt by belt.
Braided belt development at WiseBelts
A close-up photo can say more about the braid you want than a color name alone.

Made in Yiwu
We produce our belts in-house in Yiwu, Zhejiang, China.
Strand materials
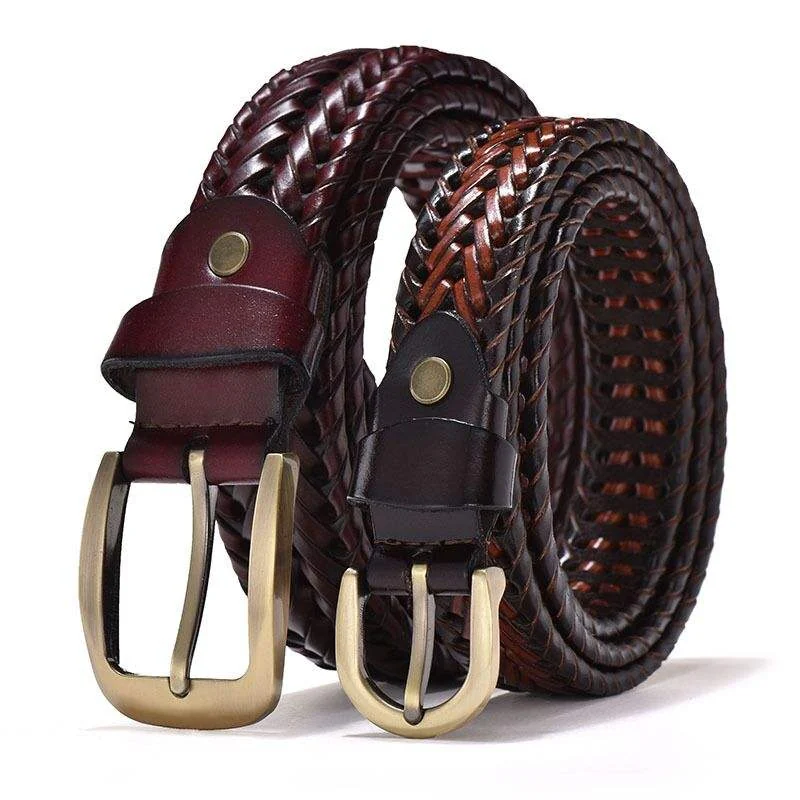
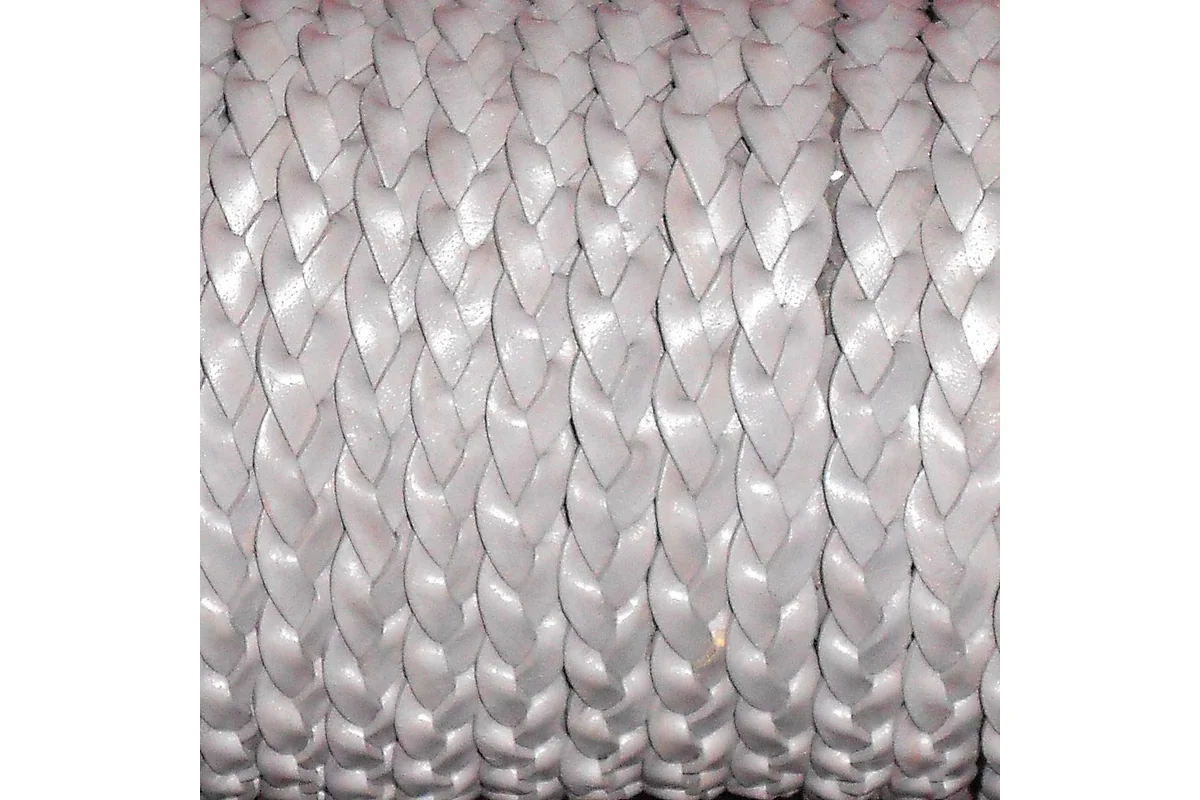
Leather strips show a flat face and cut edge at each crossing. Round textile cord makes a more raised pattern.

Starting quantity
Our minimum order is 100 belts.
Choose a sample
We offer existing-style samples and can make a sample of your own design.

Bulk production
Our production lead time is 15–25 days.
Final inspection
Our factory checks every finished belt in the order.
Find the Braid You Have in Mind
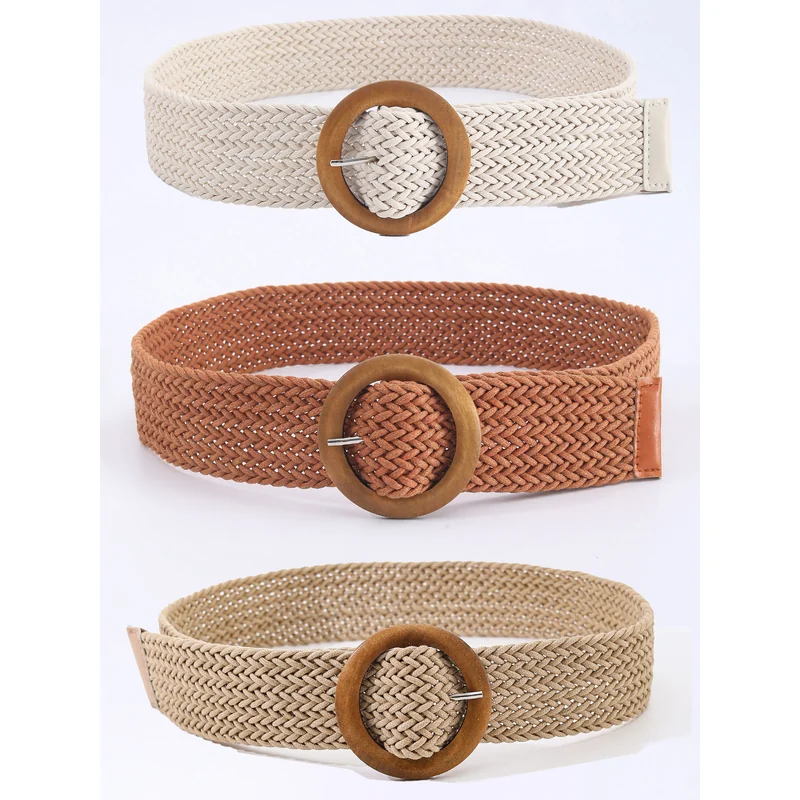
A flat leather strip makes a different braid from a round cord. Which is closer to the texture you want?
Pick a Strand Shape
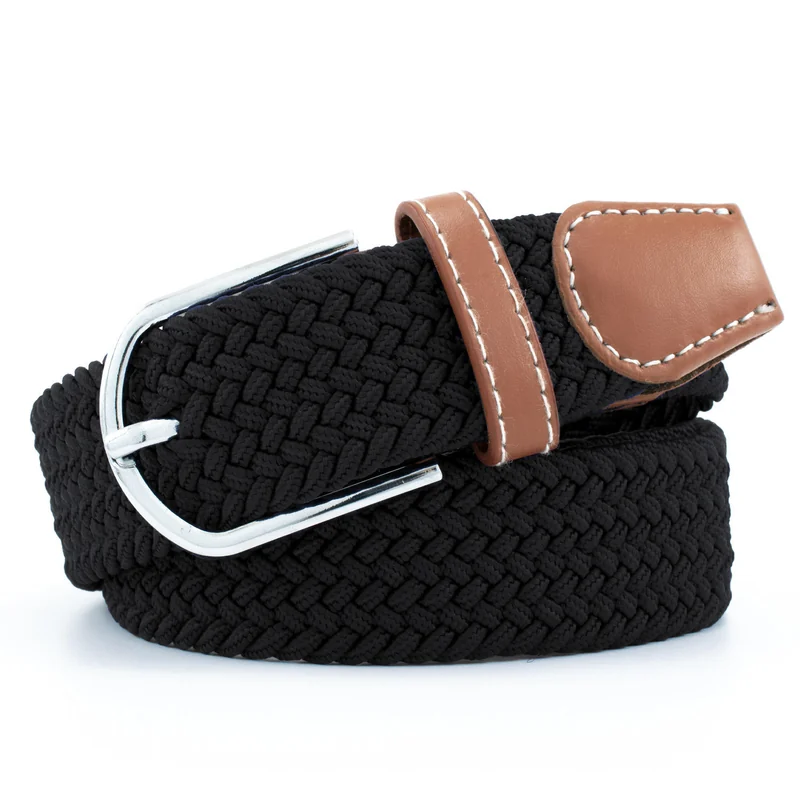
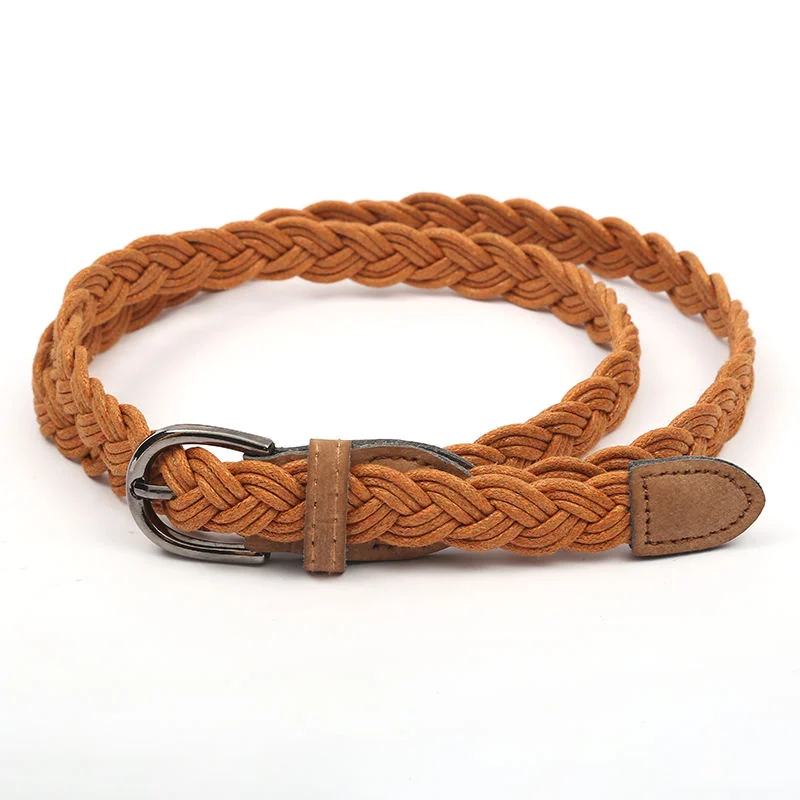
The profile of each strand is visible every time it crosses its neighbor.
- Flat strips
A broad face shows more of the color and surface of each strip. - Round cord
A rounded cross section creates a more raised crossing point. - Textile strands
With braided fabric strips, the cloth weave is visible on the flat face of each crossing. - Leather strips
The face and edges can show different tones as the strip bends.
Choose the Character of the Braid
Think about how much of the pattern you want to see from a normal wearing distance.
- Close braid
Closely spaced crossings give the strap a denser look. - Open braid
More visible space between strands emphasizes the interlacing. - Pattern repeat
A short repeat reads as texture. A longer one makes the path of the strands easier to follow. - Strand width
At the same belt width, broad strips form larger diagonals. Narrow strips give the braid a finer pattern.
Plan the Color Sequence
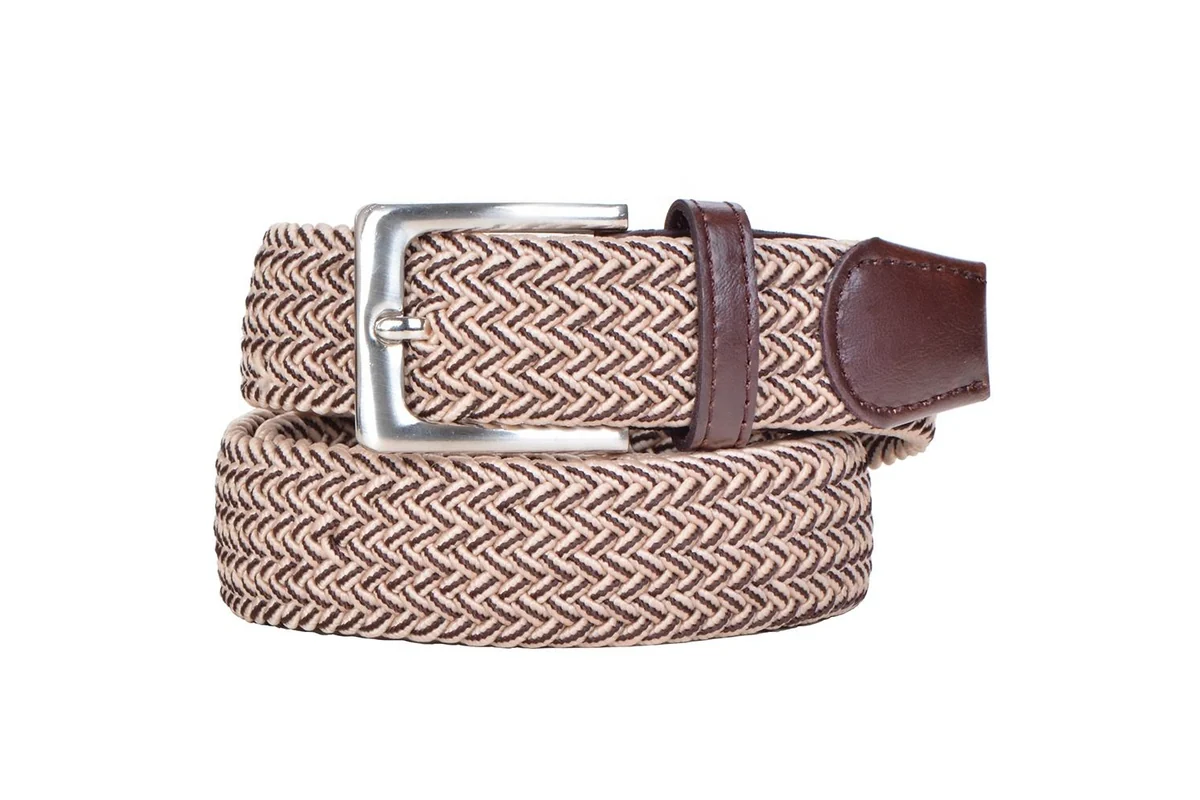
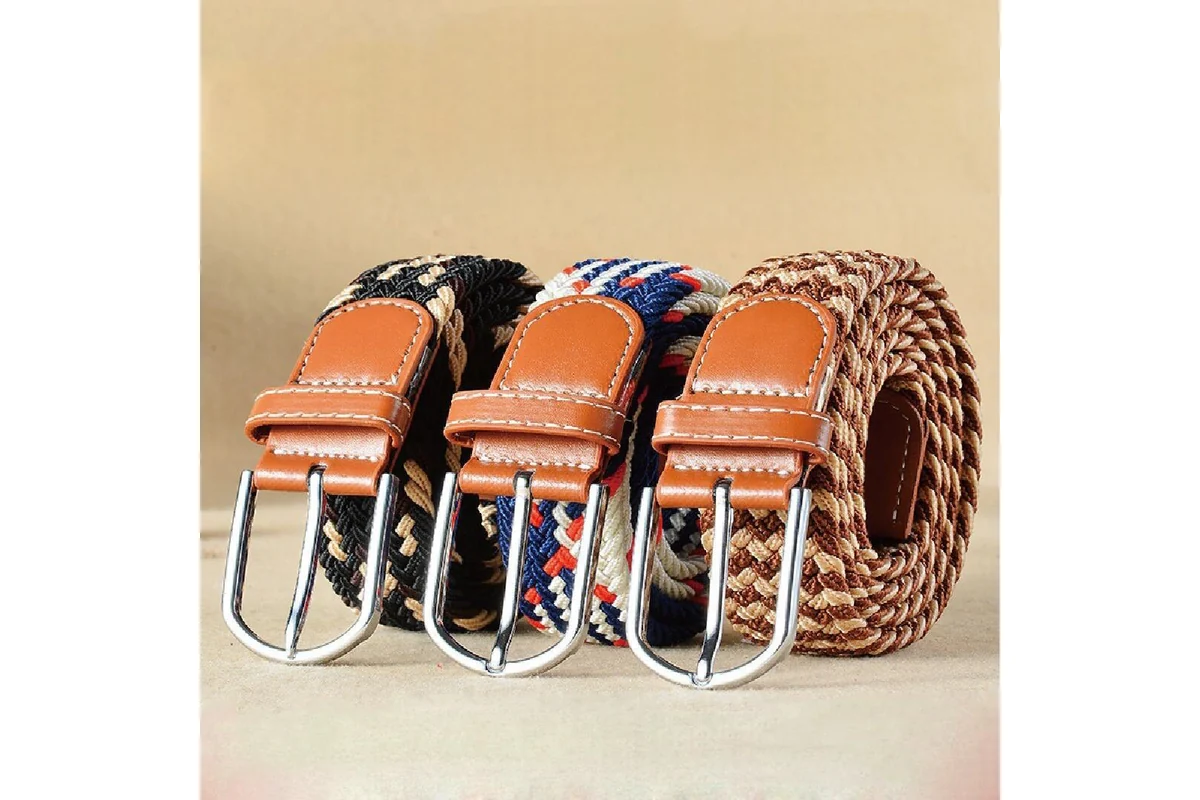
The same colors can look different depending on how often each one appears in the braid.
- One-color braid
Highlights from the raised strands define the pattern. - Tonal pairing
Related shades add depth with a quieter contrast. - Two-color contrast
Distinct colors make the direction of the braid easier to see. - Accent strand
Placing one contrasting color among the others gives the eye a line to follow.
Connect the Braid to the Buckle
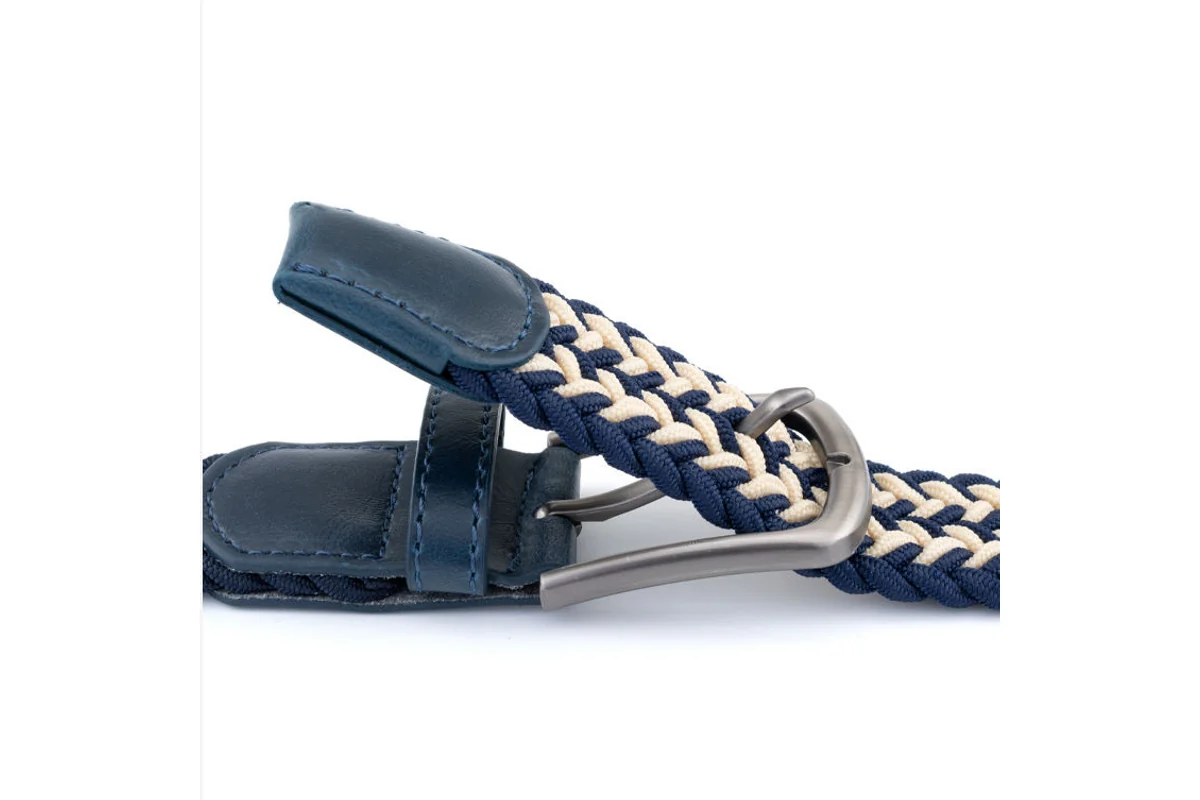
Where a braid meets rigid hardware, the transition becomes a visible part of the design.
- Braid width
Use the width of the finished braid when comparing buckle openings. - End tabs
An end tab covers the loose strand ends where the braid meets the buckle. - Hardware outline
A slim buckle frame leaves more of the braid visible. A wider face puts more emphasis on the buckle. - Color relationship
Echoing a strand color in the tab ties the two materials together visually.
Consider the Tip and Fit
The end detail and any stretch in the braid both affect how the finished belt sits.
- Tip profile
A pointed tip and a squared tip draw different outlines at the side of the waist. - Usable length
Distinguish the belt length worn around the waist from the section that extends past the buckle. - Stretch braid
Compare the relaxed length with the length under normal wearing tension. - Logo area
A flat end tab can give lettering a clearer surface than a deeply textured braid.
Strands That Give the Braid Its Shape
Compare a single strand with a finished length of braid to understand the final surface.
Leather and Textile Strands
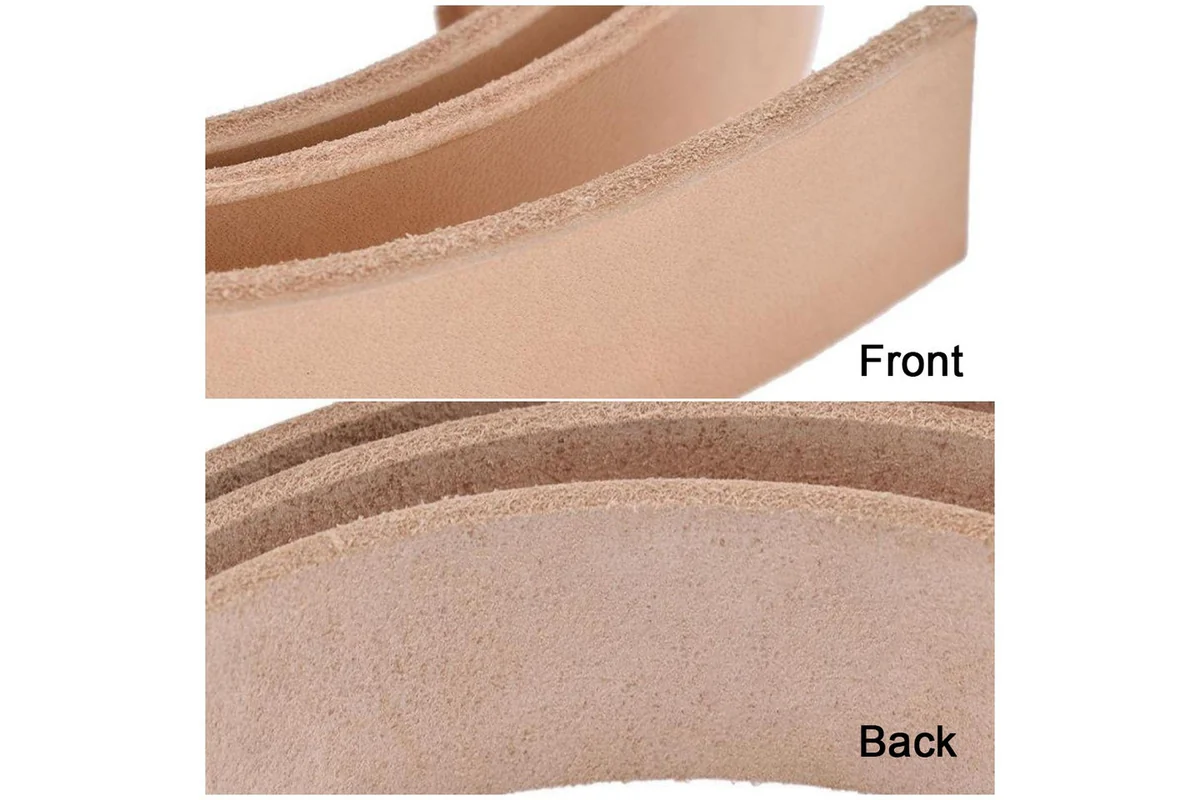
A leather strip has a distinct face and cut edge. A textile cord shows its fiber texture around its circumference.
Discuss Braid Materials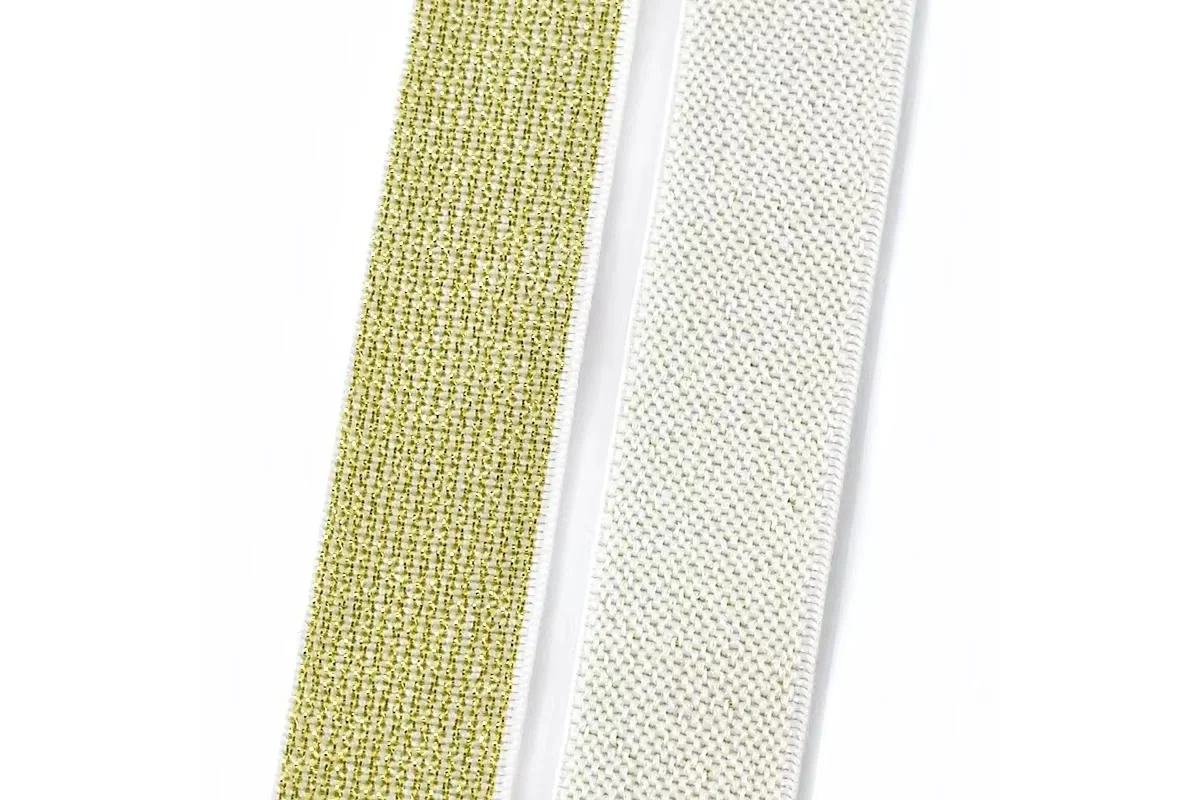
Braided or Flat Webbing?
In a braid, the strands cross diagonally. Flat webbing presents a more continuous band across its width.
Compare Strap Structures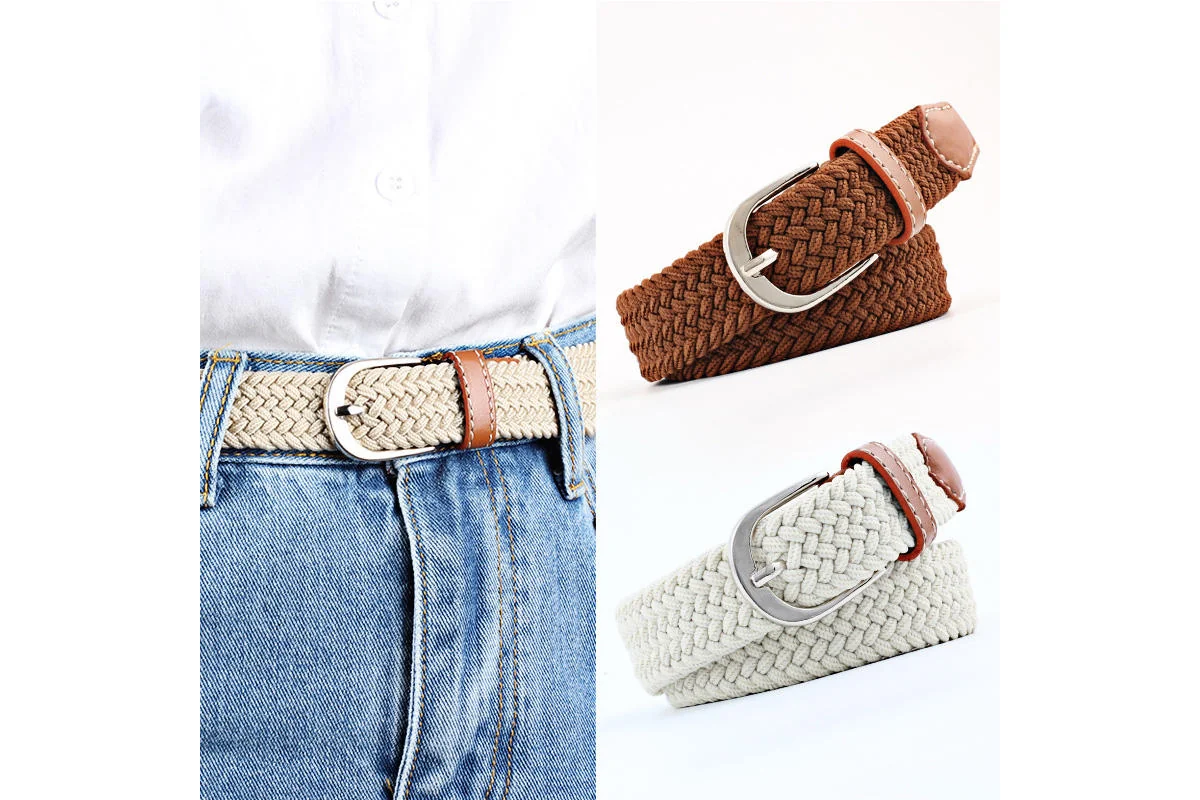
Every Finished Belt Checked
We inspect each belt in the order. A sample is also a useful way to compare the braid, end tabs and buckle before choosing the look.
Ask About Your Order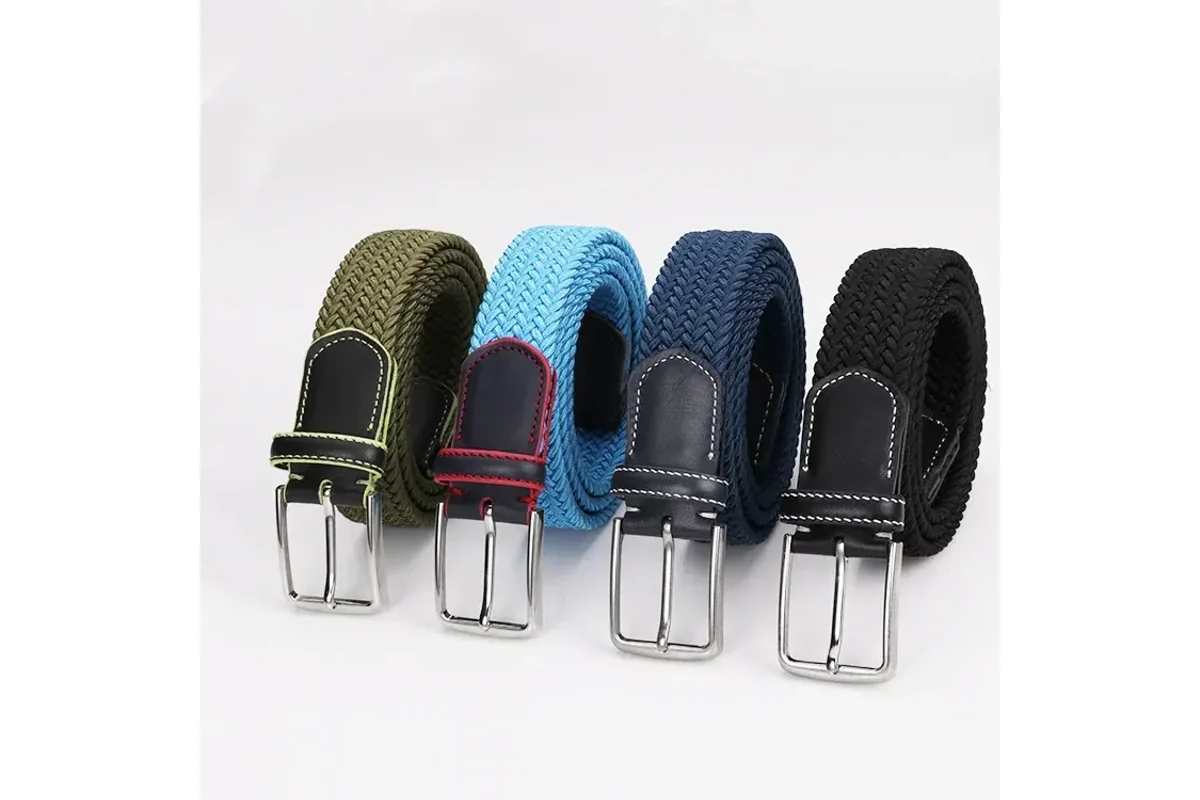
How Braided Belts Get Their Pattern
The order of the strands determines where each color reappears.
Start With a Braid You Like
A close-up of a braid you like or a description of the colors is enough to start. If you know the quantity, include it in your email.
Get a Custom QuoteBraided Belt Ordering Questions
What to compare before settling on a braid.